 If you’re lucky enough to be the owner of a pool table you will no doubt have to refelt the surface at some point. The more pool you play the quicker the felt will wear out. Either that or perhaps you want to change the color of the felt to better match the decor of your game room. Regardless the reason, if you are the do-it-yourself type the process needn’t be a difficult one. With a little bit of preparation, some patience and a little common sense it is a project that can easily be done by yourself. I will tell you where to get the supplies and how to successfully refelt your pool table from start to finish like a professional.
What you will need
The following is a list of recommended tools and materials needed to the job properly.
Tools needed:
- Level
- Pencil
- Tape Measure
- Staple Gun
- Staples
- Spray Adhesive
- Putty Knife
- Masking Tape
- Rubber Mallet
- Water Spray Bottle
- Utility Knife
- Scissors
- Propane Torch
Materials needed:
- New Felt For Pool Table
- Sandpaper
- Wood Shims for Leveling
- Cushions
- Pocket Liners
- Pool Table Featherstripping
- Pool Table Beeswax
A lot of the tools you may have around the house or may be able to borrow from a friend or friendly neighbor. The materials can be found at a billiards supply house. Listed below are three that are commonly used. This is also where you can get creative and have your pool table match your décor or your personality because you no longer have to settle for the traditional green. There are several colors and grades of felt to choose from.
Best pool table felt options
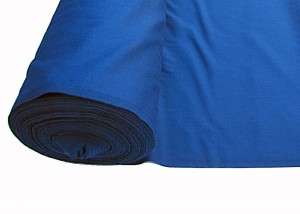 Iszy Billiards, located in Shirley, MA is known for their low prices. While they don’t have a large selection of colors for felt, you can typically get really good pricing on the more common colors. They have a few colors of felt listed on amazon, here is one of them.
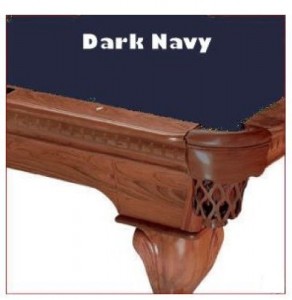 Pro Billiards is another great buying option. They carry the ProLine brand which is a higher wool content, better quality felt. They also carry the Simonis HR felt, which is a high resistance felt, designed for heavy use. A lot of these choices will depend on your personal preference, your skill level, how often you play, etc. See their great selection on amazon.
 Last in the list is Championship Billiards who have been in the business for over 50 years, so they’ve seen trends in the billiards business come and go. Located in Elk Grove, IL, Championship. They have several color and material options. If you have a specific color scheme in mind or you want a specific material then you definitely want to look at Championship Billiards. Check prices on amazon.
Pool table felt installation
Now that you know what materials to buy, where to buy them, let’s get started. The first thing to remember is the old carpenter’s adage, “Measure twice, cut once.” In other words, don’t get in a hurry. Be patient, and you will be rewarded with a quality result. The amount of time it will take you will depend on whether simply resurfacing the slate, or completely refelting the entire table, including cushions and pocket liners. Doing the entire table is not difficult, it just requires a little more time.
The first step is removing the rails from the table. Underneath there will be bolts holding on the rails. Carefully unbolt them and lift the rails and pockets away from the slate and set them off to the side for now. Next you want to remove the old felt from the table. Using your utility knife cut the old felt away from the slate. Remove any staples that need to be removed and get rid of all the old felt. You want a clean surface to work with. This is a straightforward process that doesn’t require a lot of explanation.
Secondly you want to prep the slate to be resurfaced. This is where you want to really take your time because any imperfection here will be magnified when you lay down the new felt. You want to have a very flat, level and smooth surface before you even begin to think about putting the felt down. Use your utility knife to scrape off any excess felt or adhesive that may be left on the table. Some sandpaper can help with this process as well. Once you get everything cleaned up, you want to then make sure the surface is flat and level. For this you will need the beeswax, the torch, utility knife, putty knife, a level and a little elbow grease.
Typically a slate pool table comes in sections so there will be seams. You need to heat up these seams with the torch, then use the torch to melt wax into the seam. Use the putty knife and/or utility to knife to scrape off the excess. Sandpaper also helps here to smooth everything out. The seam needs to be imperceptible from the rest of the table. Once you have everything flattened out, use your level and wood shims to make sure the table is completely level. Make sure you remove all leftover debris from the table. Go over two or three times if you need to. Better to take your time now than to see speed bumps when you lay the felt down.
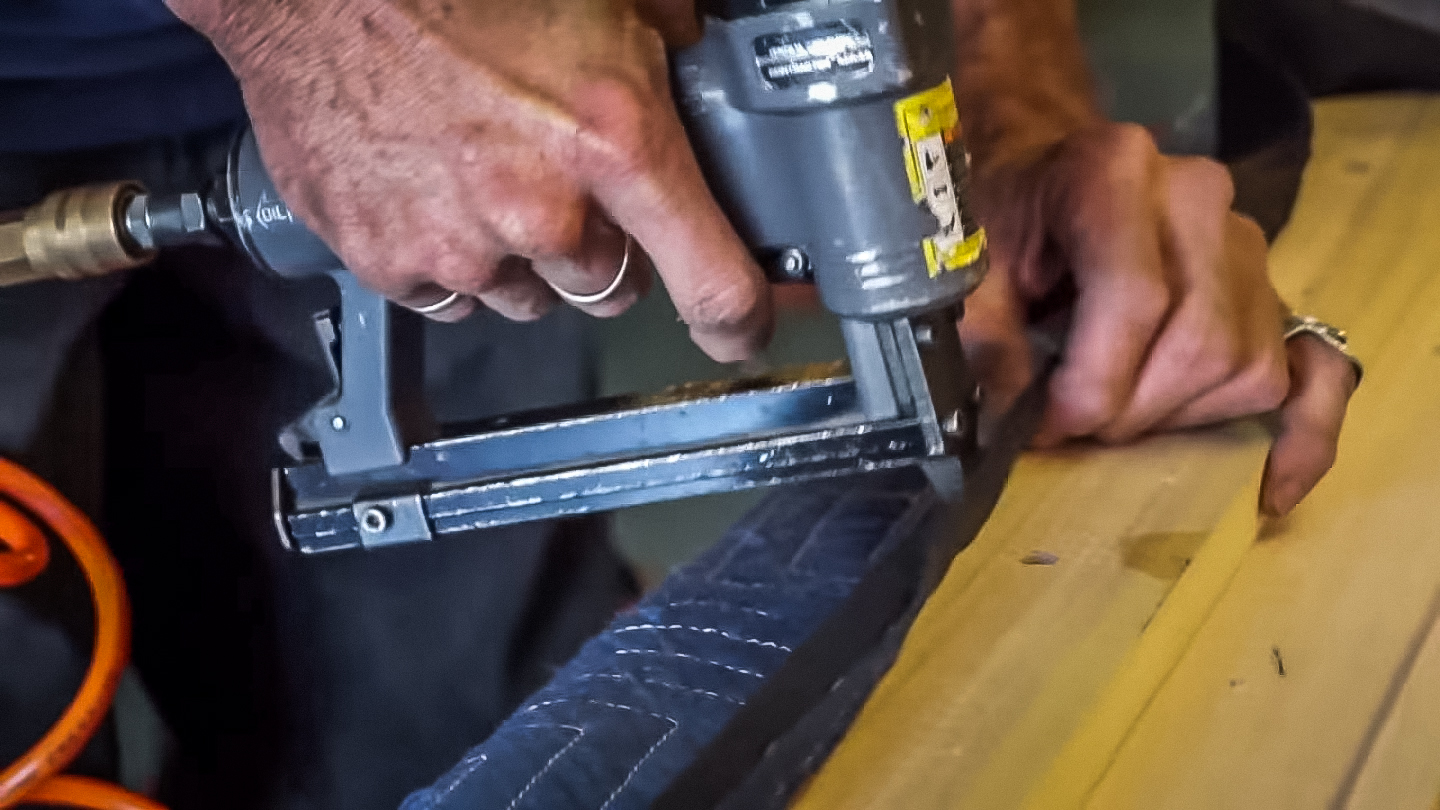
When refelting your table, the name of the game is to keep things tight. A lot of tables will have wood backing so that you can staple the felt to it. If not, you’ll have to use a spray adhesive. I typically use 3M Super 77 for this purpose. Start at one end of the table and staple or glue one end, then go to the opposite end and pull things tight and put another staple in to hold things down. Work your way around the table, pulling things tight along the way also making sure no felt is bunching up anywhere. Don’t spare staples. As long as they can’t be seen, use as many as it takes to make it look good.
Next we’ll move to the cushions. Carefully remove the felt from the cushions. If you’re replacing them, then you can be a little rough with them, but if you’re trying to reuse them then it’s best to be careful. Remove the featherstrips which hold the felt to the rail. This will release the felt from the rail and leave you with a blank cushion to work with. Again, the name of the game is to keep things tight and wrinkle free. Put the felt down into the groove of the featherstrip, then use your rubber mallet to hammer the new featherstrip in place. Pull the felt around the cushion and staple into place, remembering to keep things tight along the way. Repeat this for all the rails until you’ve completed them all.
Congratulations, you have successfully refelted your pool table. Carefully reattach the rails and pockets to the table, grab your favorite beer and enjoy a game of pool on your newly felted table.
